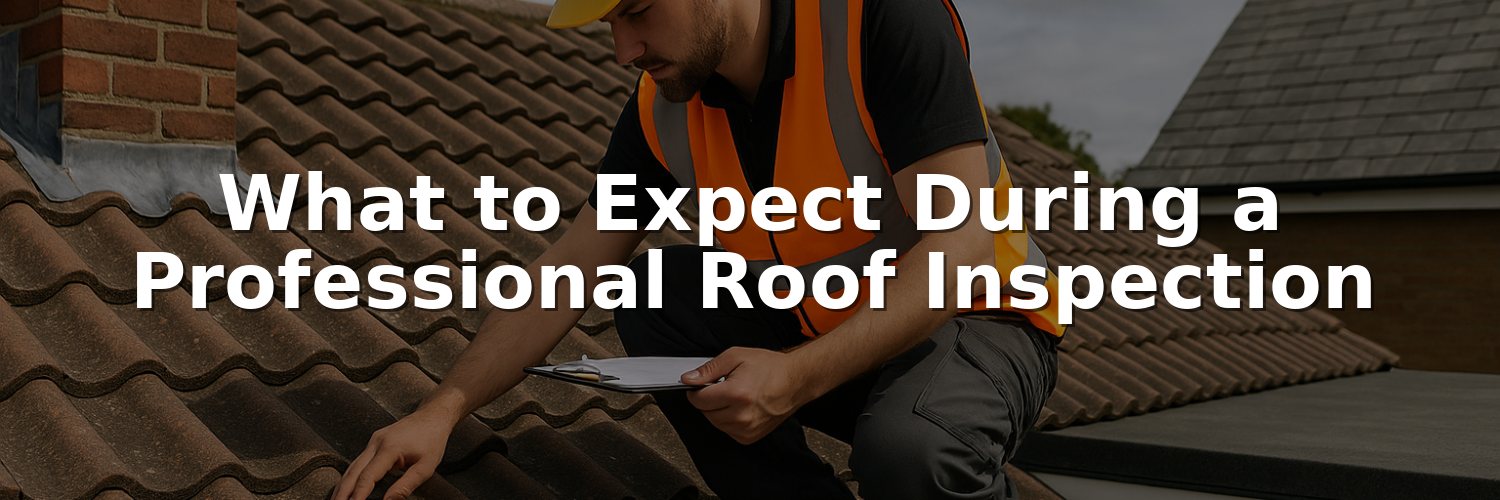
Whether you’re a homeowner arranging a routine check or a facilities manager scheduling an inspection after a storm, knowing the roof inspection process helps you plan, budget and avoid surprises. This guide explains what professional roofers from Roofing, Roofers and Roofs will typically do, how long it takes and what outcomes you can expect.
1. Pre-inspection preparation
Before the team arrives, a few simple steps make the inspection more efficient and safer:
- Clear access to the property and roofline — remove cars or obstacles from driveways and ensure gates are unlocked.
- Gather documentation such as previous repair records, guarantees, building plans or recent survey reports.
- Note concerns — take photos of visible leaks, stains or internal damp and tell the inspector about any recent storms or incidents.
2. Ground-level and interior checks
Inspections start with easy wins. Expect the team to:
- Walk the perimeter to inspect gutters, downpipes, fascias and soffits for blockages, rust or damage.
- Check exterior walls and chimney flashing from the ground for cracks, displaced tiles or missing mortar.
- Inspect the loft or attic (if accessible) for signs of condensation, rot, water marks, insulation condition and ventilation performance.
3. Roof covering inspection
Next the inspectors assess the roof covering itself. This can be done from ladders, scaffolding or with a drone for safety and thoroughness:
- Pitched roofs: look for slipped, broken or missing tiles/slates, mortar deterioration at ridges and valleys, and lead or flashing defects.
- Flat roofs: check membrane condition (EPDM, GRP, bitumen), signs of ponding, blistering or splits and the condition of upstands and outlets. For local flat roof expertise see flat roofs Bristol or flat roofs Durham.
- Other systems: inspect metal, tiled, slate, asphalt shingle and green roof components for corrosion, sealing and integration with rooflights or solar panels.
4. Flashings, penetrations and drainage
Failure points are often where the roof meets other elements. The inspector will:
- Examine flashings around chimneys, skylights and dormers for splits, unbonded lead or missing sealant.
- Check the condition and slope of guttering and downpipes, look for blockages or signs of overflowing which can cause damp.
- Assess ventilation and insulation to reduce condensation risks and improve energy efficiency.
5. Testing and specialist checks
Depending on findings, additional checks may be recommended:
- Leak tracing — water testing or infrared surveys to locate hidden leaks and damp paths.
- Drone or high-level inspection for steep, high or otherwise unsafe roofs; Roofing, Roofers and Roofs uses advanced tools for accurate surveys.
- Structural assessment if sagging, rot or other signs suggest the need for reinforcement or re-roofing.
6. Reporting and recommended actions
After the inspection you should receive a clear, written report that typically includes:
- A summary of visible issues and their urgency (e.g. immediate safety risk, repair within months, or routine maintenance).
- Photographs and annotated notes showing problem areas and likely causes.
- Recommended options with pros and cons — from simple repairs and gutter clearing to partial re-roofing or full replacement, including material suggestions (slate, tile, metal, EPDM, etc.).
- Estimated timescales and a transparent quote for any proposed work.
7. What happens if urgent work is needed
If the inspector finds active leaks, loose tiles or storm damage, expect one of the following immediate steps:
- Temporary measures — tarpaulins, temporary flashing or sealing to stop water ingress until permanent repairs can be scheduled.
- Emergency repairs — where safety or major water damage is at risk, a rapid repair team may be deployed.
- Insurance liaison — Roofing, Roofers and Roofs can provide documented reports useful for insurance claims and liaise with loss adjusters when required.
8. After the inspection: maintenance and follow-up
Inspections are most valuable when they lead to a planned programme of care. Typical next steps include:
- Scheduling routine maintenance such as gutter clearing, moss removal and roof cleaning to extend lifespan and prevent issues.
- Agreeing a timescale for recommended repairs or upgrades — for example improving insulation or ventilation to boost energy efficiency.
- Keeping the written report and photographs for warranty, resale or insurance purposes.
A professional roof inspection from Roofing, Roofers and Roofs gives property owners confidence through clear findings, practical recommendations and access to skilled tradespeople for repairs or replacement. For more regional information on roof leak repairs see our pages on Somerset roof leaks and York roof leaks.
Whether you manage a single home or a portfolio of properties, knowing what to expect during an inspection reduces stress, ensures safety and makes sure you get the most value from any follow-up works.